Showing posts with label friedcircuits. Show all posts

Sunday, December 7, 2014

USB Tester Firmware and Java App Update

It's been awhile since there has been an update to the firmware or the Java app. I have been working on them on and off for a few months now and I am finally at point for a release. Both the firmware and the Java app have some significant and important changes. I hope this brings some useful changes and lays the groundwork for future updates. Now onto the details...

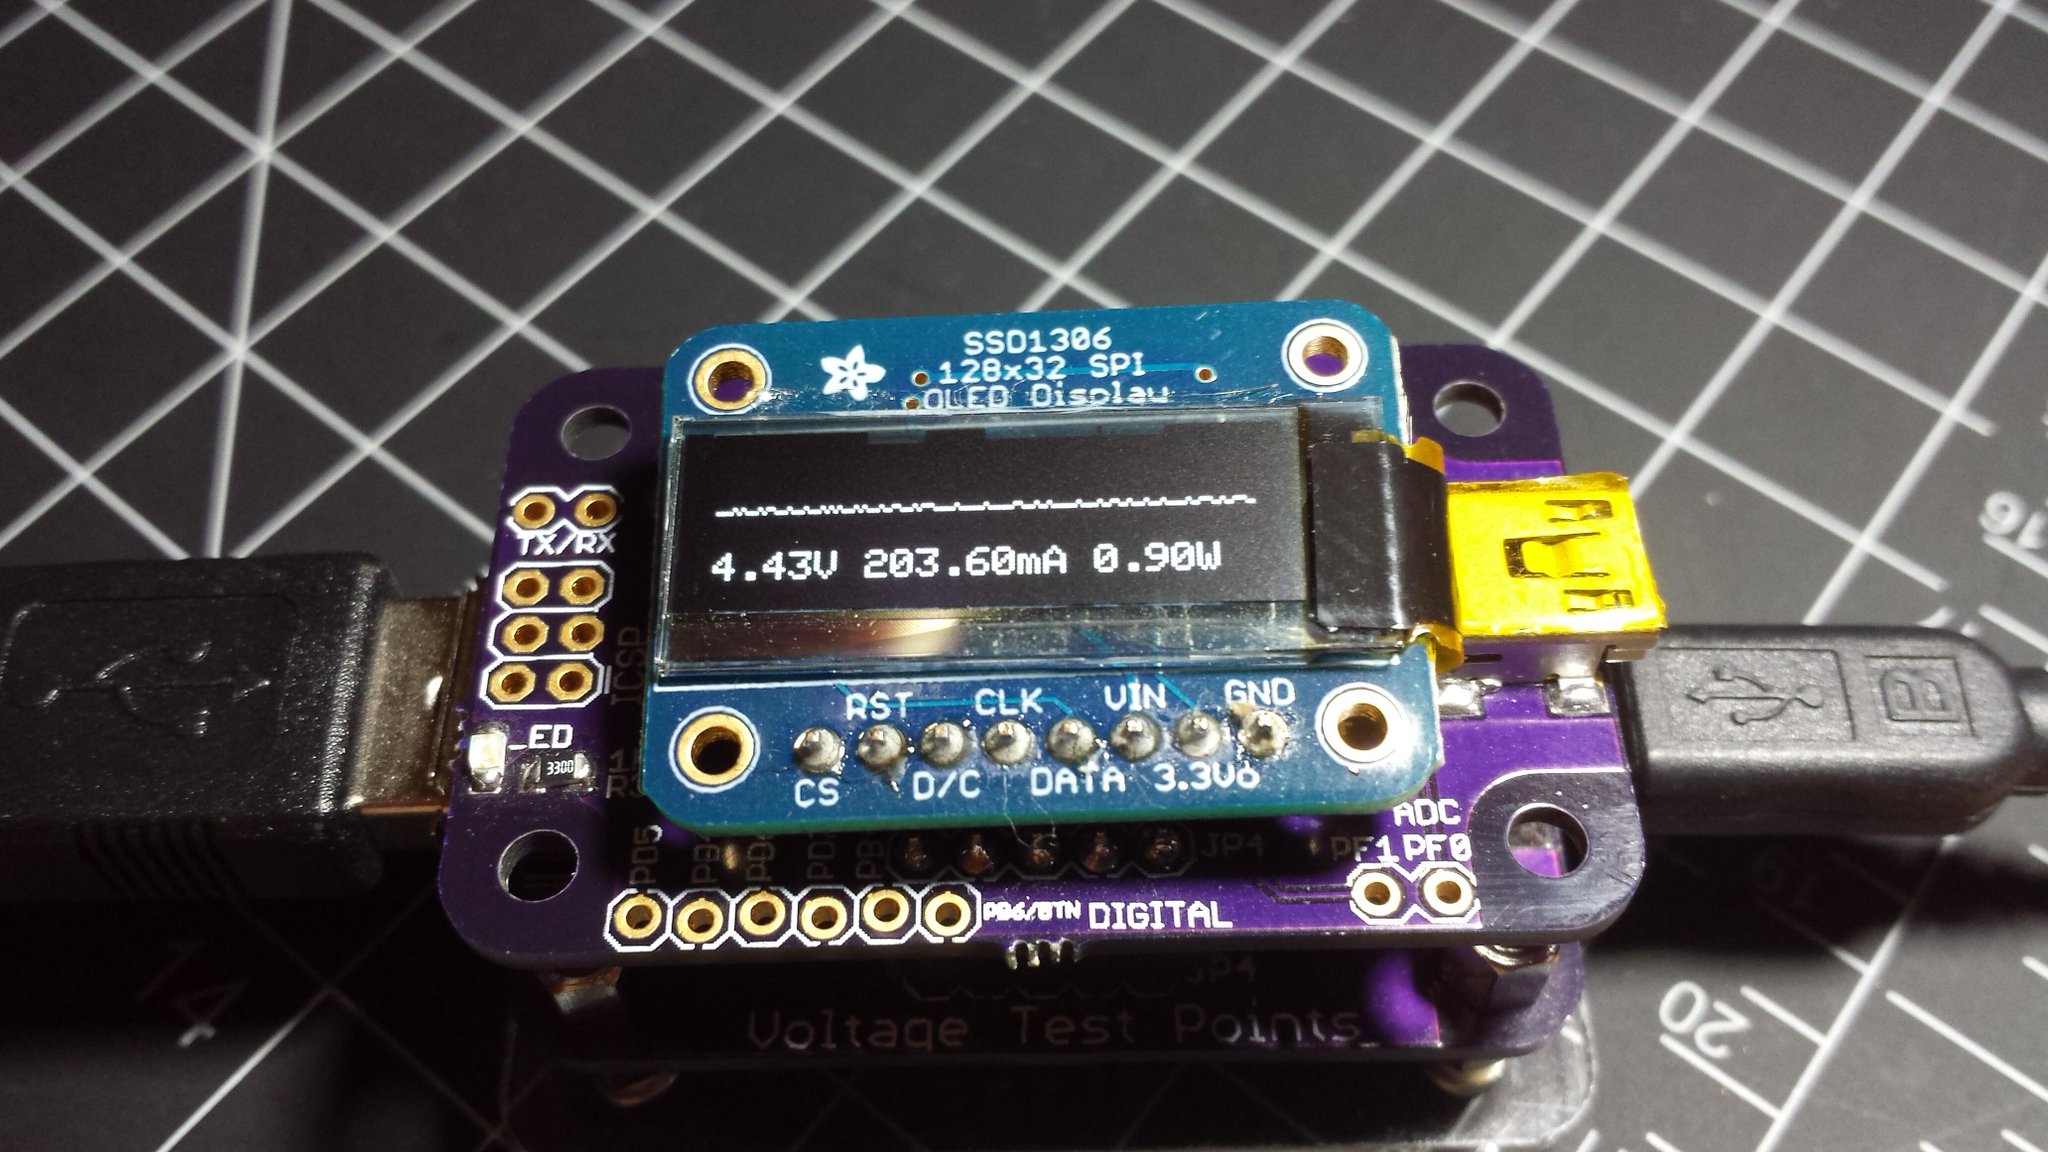
Arduino Yun booting and running OLED Adafruit Test Sketch - USB data not connected to PC

Java App: https://github.com/FriedCircuits/FC-USB-Tester-Data-Logger-App
  • Start of changelog 
  • Uses temp file instead of memory for better long term logging 
  • Able to resume unsaved session 
  • Remote control of USB Tester display 
  • Option to stop updating graph for long term logging 
  • Option to change graph refresh speed 
  • Option to set how long(in minutes) to keep history in graph or 0 for all
  • Display max and mins on voltage\current graphs 
  • Check github for new version 
  • Check firmware version and check github for new version
  • About dialog shows versions


USB Tester Firmware: https://github.com/FriedCircuits/FC-USB-Tester-OLED-Backpack

  • Start of changelog 
  • Switch to UG8Lib display library 
  • Clean up Energy and Peak\Mins screens 
  • Updated large font screens with bar graphs that auto scale 
  • Added firmware version with serial command

For the firmware you can download the working zip 2.1 which includes the new UG8Lib in the libraries folder. More information on how to update can be found here: http://friedcircuits.us/docs/oled-backpack-how-to-update-firmware/

For the Java App, for Windows download the Windows folder which has the exe (launch4js wrapper) and the needed libraries. For Linux\OSX download the Jar and libraries.

Some future ideas:
  • Possible firmware updating from Java app (Have to figure out cross platform)
  • Online real-time usage map of the the Java app by country.
    • Not really needed but could be cool. It would be just by country and could be turned off in the app. 

Please submit any bugs or suggestions to Github so I can track them. 

USB Tester and the DigiSpark Pro

After supporting the DigiX on Kickstarter, I have become a fan of DigiStump. So what better way to support them than buy stuff? I supported their new Kickstarter this year for the DigiSpark Pro. I got the beta kit which they made at their office and it came with the extras along with being shipped sooner. I posted about the details earlier: http://www.mobilewill.us/2014/06/digispark-pro.html. I finally got around to doing some basic power testing with the USB Tester. I took this picture just before our vacation.


Running the basic blink sketch its using about 22mA. Which is less then an Arduino Uno.


Monday, December 9, 2013

New Product: USB Tester 2.0 Bundle!

After months of development, the USB Tester 2.0 Bundle has arrived!


Currently available on Tindie and soon on Friedcircuits.us

USB Tester Bundle 2.0
USB Tester Backpack 2.0

The bundle includes both a new version of the Backpack and USB Tester. At this time, the new USB Tester is only available with the bundle.


New on Backpack
  • Micro USB
  • Button Location on the front left
  • 128x64 OLED Display (Double height of the 1.x version, easier to source)
  • Voltage monitoring of the USB Data lines
  • Easier access to almost all the extra GPIO’s


New on USB Tester
  • Micro USB
  • Separated voltage test points (Easier to attach test clips and avoid misplacing jumper)
  • Better labeling
  • Standard Dual Banana spacing 0.75in
  • Standard test probe sized test points


New Firmware Features (Will be available for 1.x version)
  • Peaks
  • mWh and mAh tracking
  • Big Readout Display
  • JSON for serial communications


Updated Java App (Beta)
  • Implemented JSON over serial
  • Will save as CSV
  • Add display of new data values
  • Working on graphing some of the new data


We’d like to thank Ed for all of his help and contributions.
http://www.aerodynes.fr/2013/09/08/fried-circuits-tester-multiscreen-and-energy-measurement/

Monday, November 18, 2013

FriedCircuits now on InMojo.com

I recently heard about iNMOJO.com. Similar to Tindie, so I decided to give it a try. Currently just the USB Tester is listed.


http://www.inmojo.com/store/friedcircuits/item/usb-tester/


Let me know in the comments if you have heard or had any experiences (good or bad) with inmojo.com.

Saturday, November 16, 2013

New Product: Dual Resonator


Overview

Sometimes you need 8Mhz and other times, 16Mhz. This Dual resonator makes sure you have both always on hand. Easy to breadboard at a moments notice. Just flick the switch for the speed you need!

Included

  • 1x PCB
  • 1x 16Mhz Resonator
  • 1x 8Mhz Resonator
  • 1x DPDT SMD Switch
  • 1x 3pin header
Requires some soldering mostly through hole. Even though the switch is SMD it is easy to solder.
Purchase: Tindie or FriedCircuits


Sunday, October 6, 2013

TinyISP-Tuner

In my recent experience with the ATtiny2313, I had problems with the serial communication at 8Mhz. Which in turn my research led me to learning about tuning the internal oscillator. The ATtiny is a small microcontroller by Atmel, the same company that makes the ATmega328p in the Arduino UNO. It doesn't have all the features but it is cheap and great for embedding in projects. Here is a link to more info on them: http://www.atmel.com/products/microcontrollers/avr/tinyavr.aspx . The great part is that there is a add-on for the Arduino IDE called Arduino-Tiny. This way you can use the same code with the ATtiny's.

After some trial and error and some help from the forms, I was able to figure out how to tune the ATtying2313 and get reliable serial communications. As a result I decided to design a kit that makes it much easier to tune.


The TinyISP-Tuner connects to your computer via a FTDI cable and has an ATmega328p as the controller. The ATmega328p is running the TinyISP sketch with tuning and KnockBang. KnockBang allows you to pass serial debug info via SPI over the FTDI cable to your computer. Very convenient. When tuning is enabled there is a 16ms pulse sent out to the ATtiny you are programming. Plus you can program the ATtiny once it is tuned with your sketch. All with this one kit.


Supports ATtiny84/44/24, ATtiny85/45/25, and ATtiny2313/4313.

Kit Contents:
1x PCB
1x 6pin Right Angle header for FTDI programming
1x Atmega328p DIP (Pre-programmed with TinyISP configured for tuning)
1x 16Mhz Resonator
2x 0.1uF Capacitor
1x 10K Resistor
1x 330Ohm Resistor
1x Red LED
1x 20pin socket
1x 14pin socket
1x 8pin socket
1x 28pin socket


Check out the guide: http://friedcircuits.us/docs/tinyisp-tuner/
If you want to buy one: https://www.tindie.com/products/FriedCircuits/tinyisp-tuner/

Monday, September 23, 2013

FriedCircuits Now Live!

We'd like to welcome you to our grand opening of our new online store, FriedCircuits.us!

Over the past few months, we have diligently worked toward creating a one-stop-shop that offers tools & parts for sale as well as detailed documentation. There we hope to provide new products, tutorials and share FriedCircuits related projects. 

Fear not! This here blog will remain active, and host most of MobileWill's personal projects and such. After all, it is through this blog that we were able to grow many ideas and tools that helped launched our FriedCircuits tindie shop (which we still plan to support)!

Speaking of supporting - we'd like to thank all of our supporters for helping us succeed to where we are now. As a thanks, we are offering 10% off to the first fifty customers! 

To dive into this deal, simply check out the new shop here: FriedCircuits.us, register and order. Use the coupon code: OPENTEN

We hope you will find FriedCircuits to be easy to navigate, helpful and fun! Please leave us your feed-back of FC - it is greatly appreciated. Thanks!


-heartsy

P.S. Check back soon for an upcoming giveaway!

Monday, September 9, 2013

OLED Backpack New Features

Recently, the OLED Backpack has gone through a few updates and it has come to be quite a new tool! Thanks to Edouard Lafargue for all his hard work, he has made the OLED Backpack extra amazing.


New features:

  • Auto scaling (can change scale range in code)
  • Multiple Screens - Short button press
    • Scope View
    • Energy Readings
    • Peak and Min values
    • Large font for each of the 3 readings (Voltage, Watts, Amperes)
      • Amperes display auto adjusts decimal
  • Button resets peak, min and energy counts
Check out Edouard's review

VA Tester Demo Video

Come watch a demo of the VA Tester and support us on Tindie: goo.gl/r3wkhJ


Tuesday, September 3, 2013

VA Tester Fundraiser is Live!

After designing and constructing both USB Tester and the OLED Backpack, this next tool was naturally conceived. Introducing the VA Tester, a device similar to the USB Tester. However, unlike its counterpart, the VA Tester allows you to use it inline with almost any project. Additionally, it makes the OLED Backpack twice as useful.


The VA Tester allows you to monitor up to 26VDC at ±3.2A Max. This gives you a wide range of possibilities. Using the screw terminals, you can attach bare wire or jumper wires without having to solder, making for quick and easy connections.

Another useful change from the USB Tester is the replacement of the banana connectors to standard sized test points that fit most of your DMM probes.


Here is a picture of the first prototype:

Interested in owning one of these VA Testers? Then come support the fundraiser on Tindie! If we reach our goal, we'll give away an OLED Backpack to one lucky backer!
https://www.tindie.com/products/FriedCircuits/va-tester-kit/https://www.tindie.com/products/FriedCircuits/va-tester-kit/

To read more about the VA Tester, check out our friend Edouard's, (over at Aerodynes) review: http://www.aerodynes.fr/2013/09/02/friedcircuits-new-tester/

Sunday, August 25, 2013

OLED Backpack: New Firmware!

There is a new firmware update for the USB Tester OLED Backpack. This update completely redesigns the display and makes use of the button.

Updated OLED Display
Change Log:
-Removed SVolt and BVolt
-Moved Current\Volt under graph
-Extend graph width of display
-Use clearDisplay() to speed up redraws
-Reduce logo display time
-Enabled button to cycle display speed
-Millis based delay

You can find the update on github:
https://github.com/FriedCircuits/FC-USB-Tester-OLED-Backpack


If you need directions on how to update:
http://friedcircuits.us/docs/oled-backpack-how-to-update-firmware/

Sunday, July 7, 2013

Another Toaster Reflow Oven Part One

As Friedcircuits grows, the need to produce more at once increases. Before making the OLED backpacks I was hand soldering each product. During the development and fundraiser stages, I figured it would be a good idea to look into a better way to manufacture them. After researching and talking to a few people, I decided to go with a custom-built reflow oven. Well, really, it’s a converted toaster oven, just modified to suit my needs. I used resources from across the Web that I’d like to bring together in one post as well as my experience.

Sunday, April 14, 2013

LED Matrix Master Fundraiser on Tindie

LED Matrix Master

You can support the fundraiser here: https://tindie.com/products/FriedCircuits/led-matrix-master/

Over the next two weeks we will be running a fundraiser to “kick start” the LED Matrix Master. If successful, the PCBs will be ordered and it should be about 3-4 weeks to start shipping. Thanks for your support. Each fundraiser you support helps build FriedCircuits and fuels development of new products. We have a few more designs in the works including entry into the home automation field. If there are any ideas you would like to see, feel free to contact us. The LED Matrix Master is a microcontroller (Arduino compatible Atmega328p) in the same form factor as the LED Matrix Link. After programming you can easily mate it with the matching headers to a string of LED Matrix Links. Instead of tying up one of your development microcontrollers you can dedicate the LED Matrix Master to do the job. The small size allows it to be hidden away or connected directly without wires, just power.


Features:

 • Atmega328p @ 16MHz with Arduino bootloader

 • 5v operation (Could be run at 3.3, but slightly out of spec at 16MHz.)

 • FTDI Headers

 • All unused GPIO's available

 • ICSP footprint

 • Preloaded with demo sketch

 • Can be used as standalone microcontroller for other projects

 • Code examples on friedcircuits.us


Includes:

 • 1x PCB with SMD components soldered

 • 1x Right angle male FTDI header

 • 1x 5p right angle female header


You can support the fundraiser here: https://tindie.com/products/FriedCircuits/led-matrix-master/


If you need the LED Matrix Links you can find them here: https://www.tindie.com/products/FriedCircuits/led-matrix-link/

Sunday, March 31, 2013

LED Matrix Link: Last day of fundraiser


Today is the last day to get in on the LED Matrix Link. You can get yours on Tindie: https://www.tindie.com/shops/FriedCircuits/led-matrix-link/


If you are unable to get one today, they will be in stock in about 2-3 weeks. After the fundraiser you can sign  up to be notified on the Tindie product page.

Tuesday, March 19, 2013

MAX7219 and eBay fakes


I have been receiving feedback that I can use eBay suppliers to lower my price on the MAX7219. I had previously considered that option, but after some research I have found that a lot of people are receiving counterfeits on eBay. While some counterfeits may work, their reliability is questionable and that would make my product unreliable. I do not believe that it is “good business” to support businesses and companies which pirate technology and sell it as if it were legitimate. I sincerely hope everyone understands why I am skeptical about using an unknown supplier for parts. Here is a good forum post about coming across the fake variety: http://www.picaxeforum.co.uk/showthread.php?22481-Real-or-fake The more units I can sell initially will increase my per-part discount, which allow me to lower my selling price.

For example if you look at the picture above, the line across the top is inline with pin 2. f you do a search on eBay or even Goole image search you can see that they lines up with pin 3. Also mine has a notch and the eBay ones all have a dimple. Not to mention there is no way someone can go to Maxim and get a price much lower then their lowest price they have.

LED Matrix Link on Tindie

The LED Matrix Link is now on Tindie. You can find it here: https://www.tindie.com/shops/FriedCircuits/led-matrix-link/


Sunday, March 17, 2013

LED Matrix Link: Prototype

Update: I have listed the LED Matrix Link on Tindie as a fundraiser to get this started. You can support it here: https://www.tindie.com/shops/FriedCircuits/led-matrix-link/


This prototype stems from another project\product to be that I haven't posted about except for this sneak peak: Project Sneak Peak. I noticed that most LED Matrix drivers on the market use shift registers to give a microcontroller the ability to control more LEDs than would be possible. Last year I came across the MAX7219 from Maxim Integrated. This cool little IC does all the work for you to drive a LED Matrix or LED Segment display. It uses a variation of the SPI protocol and can be daisy chained.  The other cool feature is you only need 1 resistor to set the max current and therefore the brightness. The best part is there is an Arduino library already.


MAX7219 LED Driver from Maxim Integrated

Sunday, March 10, 2013

USB Tester and Sick of Beige

From the beginning I designed the USB Tester to use the Dangerous Prototype Sick of Beige (SOB) standard PCB sizes. 50x31mm being the smallest rectangle and most ideal for the USB Tester. One of these reasons was that in doing so it would fit their standard acrylic cases which can be found at Seeedstudio.com for $3. After waiting many days, my order has come in and I can show you one way you can use the case.

When you order the enclosure it comes with the following:
  • 4x Long Screws
  • 4x Short Screws
  • 4x Tall Stand offs
  • 4x Short Stand offs
  • 2x 50x31mm Acrylic cut with mounting holes


I found what worked is to use one acrylic sheet, all eight hex stand offs and the four long screws.

Needed parts


Tuesday, February 12, 2013

USB Tester OLED Backpack with Display Fundraiser

Today we have started the fundraiser for the USB Tester OLED backpack with the display. This is a great addition to the USB Tester, which makes it easy to monitor voltage and current for any USB device. Now you don't even need your DMM. You can use this to see how much power your Raspberry Pi is using or that custom Arduino based project you are working on. This is a great way to make sure you aren't getting a voltage drop due to that USB hub you are using. Check out the product description below and thanks for your support. You can back your here: https://www.tindie.com/shops/FriedCircuits/usb-tester-oled-backpack-with-display/


USB Tester OLED Backpack measuring Raspberry Pi