
Throughout the week after receiving my PCB, I was able to start rebuilding SBot 1. So far I have been really happy with the results.
 |
| Here are the shields I am using (Left to right, Arduino Pro, Custom PCB, Ardumoto, Xbee) |
The build:
At a glance the robot looks very similar but the main difference is that it has much cleaner wiring and it has the Xbee shield on top. I added an IR switch in front for basic object detection. The new custom circuit includes temperature sensor, light sensor, and speaker output for playing melodies.
While designing the circuit board I added a JST header for some line following sensors I bought a while back when I ordered parts for Sbot 2. They never made it in Sbot 2 but I found a home for them on Sbot 1 which worked out well since they made for a better fit.
I had a HBRC meeting coming up that coming Wednesday and I wanted to have a working robot. So my main goal was to get it moving and add the nonessential stuff later. After finishing soldering the circuit board on Sunday, I was able to start assembly Monday night and finish things up on Tuesday night. That is, in between gaming with my friend on the Xbox, since we both bought the same title the previous week.
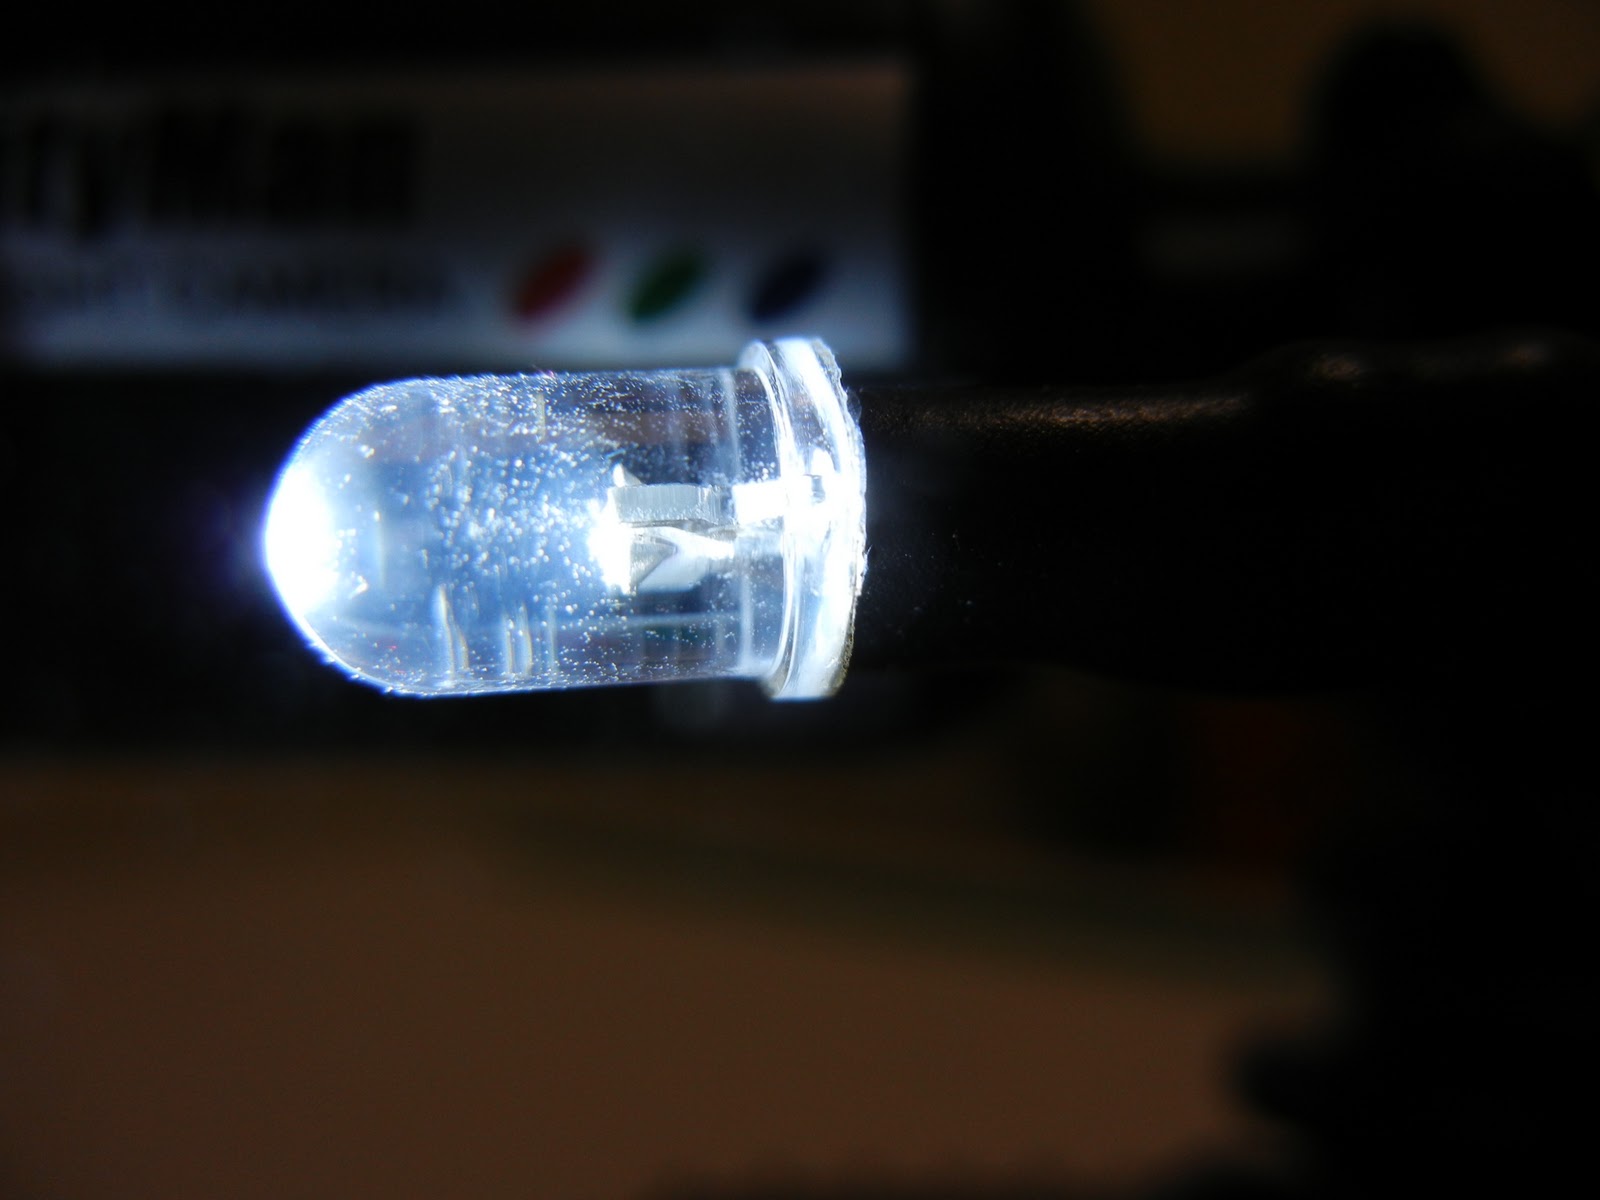
Assembly went smooth except the LEDs weren't working at all. Tuesday night I decided to rip them apart and try to get to the bottom of it before the meeting. Well that didn't go very well and it ended up with just bare wires where the LEDs should of been.


Meeting:
The demonstration at the meeting went fairly well except this time I tried to demo the on-board camera but was unable to get the signal working. Turns out it did work for a second; it should of been on channel 2. Oh well, for next time. I was able to finally show my VB.net application which I use for direct control when on the road or testing.
The rest of the meeting was great and I was able to see a demonstration of a exoskeleton up close and personal. As well as network with other people which is always a highlight of the meetings.
Troubleshooting:
Thursday night I decided I had to get to the bottom of why the LEDs weren't working. I decided that it might be due to the fact that I switched to a 3.3v system and the LEDs had a forward voltage of 3.4v. So on my way home from work, I picked up a bag of assorted transistors from Radio Shack to see if I could figure it out.
After many hours of head scratching, bread board testing, and Googling, I still didn't have it working. I could get the LEDs to dimly light up but not to full brightness. I was at a loss to the problem. Finally I put down my soldering iron and decided to call it a night, which is something that is very hard for me to do. I sleep much better if I can figure out a problem before bed or at least know what I need to do that next day to solve it. Before crashing for the night I decided it would be a good idea to post my problem and get another pair of eyes to take a look. I whipped up a schmatic and posted my problem on the Arduino forum. By the time I went to bed and after some back and forth posting, user CrossRoads, who has been very helpful in the past, asked if my pin was set as output. As I was laying in bed I stepped through my code and I realized that might be my problem. I quickly got up, ran to my computer. Sure enough I checked my setup function where I setup my pins and it was missing. No code to setup the LED pins. Doh! I couldn't believe after all this that was the problem. All in all I still needed the transistors so that I could borrow power from the step-up to have full or as close to full brightness that I could possibly have. CrossRoads also helped with getting my transistors setup with the correct resistor values to obtain close to full brightness. Thanks!
Now with the LED problem solved I could move on to the fun stuff! Most of the base code I had written while waiting for the circuit board to arrive. All I needed now was some tweaks and to write two functions for basic autonomous operation. In the past the HBRC has had some tabletop challenges in which I would have liked to compete in but I didn't have a robot built for that. I figured that the line following sensors could probably detect the edge of the table.


Playing with Autonomous:
Saturday was the perfect day to play with and mount my line sensors. My fiance heartsy was having a crafting day with a friend so this left me to focus on my robot. First thing was to mount the sensors and write some testing code to see how well this would work.


First trial run went very well. The sensors return logic 0 for a black surface and logic 1 for everything else, but if there isn't anything in range to bonce off of it will return logic 0. Perfect! After writing some basic code to check to see if the sensor is returning logic 0, past the edge of table. Worked perfect, well for the most part. I mounted the sensor under the front of the robot which means the robot doesn't have very much time to react. For the most part this works but not if the robot is at an angle in relation to the edge of the table. The robot can stop in a position but due to the weight of the camera, it causes it to fall off the table. Of course I was there to catch it. Back to the bench to extend the sensors past the front of the robot and tweak the code as to have more sensor checks per second. This is one case I really wish the Arduino had more interrupts. The two it does have is taken by the battery alert and the front IR switch. Had I thought this through I would have not had the battery use an interrupt and just poll it every few minutes. This would have freed up one interrupt for the line sensor. Either way I was able to tweak the code to have a reasonable response time.
With the tabletop mode working so well I decided to write a function for line following mode. After writing a few If/Then/Else statements I had a basic line following algorithm. For the most part it works fairly well as long as there isn't any sharp turns. I want to go back and try to speed up the code possibly by using millis() function instead of delay() which I did end up using for my sleep function. That way I can check the sensors while adjusting my path.


Both functions are setup to run separate from the main loop. This way all of the other functions cease and everything is dedicated to checking the line sensors and reacting accordingly. The modes are set via a command over the serial port. The tabletop mode is stopped by using the reset button and the line following mode is stopped when the front IR switch detects an object. I will probably change the triggers for stopping the modes but this works for now. To speed things up I am not checking for incoming commands.


Both functions are setup to run separate from the main loop. This way all of the other functions cease and everything is dedicated to checking the line sensors and reacting accordingly. The modes are set via a command over the serial port. The tabletop mode is stopped by using the reset button and the line following mode is stopped when the front IR switch detects an object. I will probably change the triggers for stopping the modes but this works for now. To speed things up I am not checking for incoming commands.
I found this tiny line follower robot on Hackaday which follows a line very well but uses 8 IR sensors on the front.
No comments:
Post a Comment