In my last Adafruit order, I decided to get the Raspberry Pi camera and the Pimoroni Raspberry Pi Camera Mount. This has been on my to-buy list for quite some time. I first saw the camera in person at Hacker Dojo when Rob from RPi came on his tour in the States. I am really excited to see what fun stuff I can come up with. In the past I have used a webcam on my desktop with ActiveWebCam to stream my entry-way to keep tabs on it. I want to try the Raspberry Pi to replace this setup as well as other projects. I have may have to put a few more cameras to go with all the Pi's on my desk.
The camera comes in a static bag with a how-to card and in the same box as the Raspberry Pi comes in.
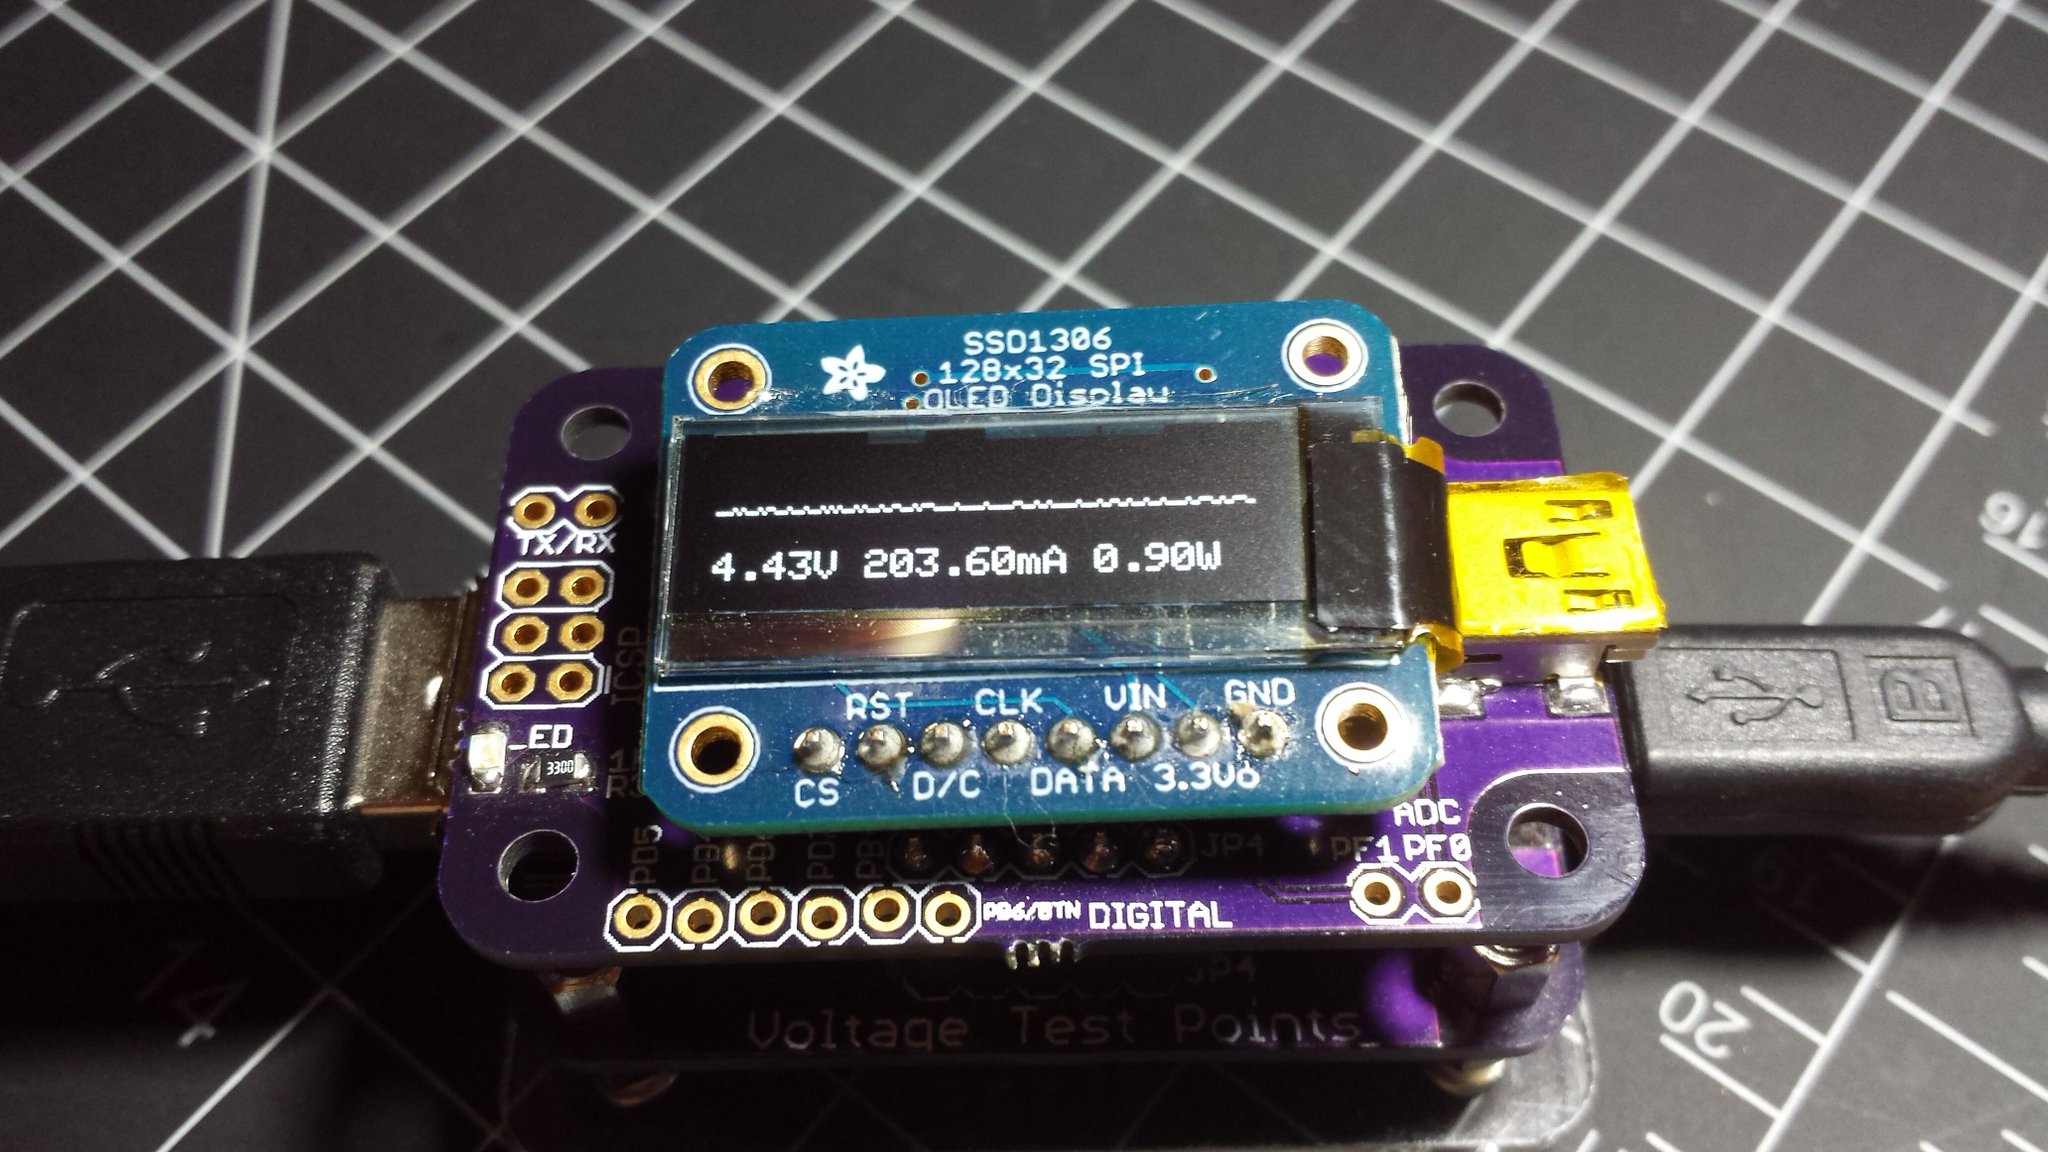
There is a new firmware update for the USB Tester OLED Backpack. This update completely redesigns the display and makes use of the button.
Updated OLED Display
Change Log:
-Removed SVolt and BVolt
-Moved Current\Volt under graph
-Extend graph width of display
-Use clearDisplay() to speed up redraws
-Reduce logo display time
-Enabled button to cycle display speed
-Millis based delay
A few times a week Dangerous Prototypes does a give away for a free PCB. They have extra PCBs from prototyping that they offer up for grabs so you can try your hand at it. If you complete the build, then you can get another coupon. A few months ago I redeemed my free PCB coupon for the XT IDE Controller. It took some time to get the PCB and to order all of the needed parts, but finally everything was ready for assembly. I have to say this project was anything but cooperative but I finally finished the build. I decided to use a syringe of solder paste and re-flow it, which can be tricky without a stencil. Hence the uncooperative part.
I have been wanting to play with the MSGEQ7 that Sparkfun sells. The MSGEQ7 is a graphic equalizer display filter that splits the audio into 7 bands and outputs via an analog signal. So in my last order, I decided to toss in the SFE shield with the MSGEQ7. This shield is all ready to go and it can analyze right and left audio channels. I am using it with a Arduino Leonardo.
Now I just need a way to display the output. What better way than using 2 LED Matrix Links?! You find them in our Tindie shop and they make it really easy to drive 8x8 LED Matrix displays. The kit comes with everything you need, just add your Arduino\Compatible micro and you are ready to go.
The only thing left is to have the option of transposing it so it displays horizontally. This still needs to be done using the setRow function. If you use the setColumn otherwise, it will update too slow.
We're dreaming of sunshine over here (it's cloudy and misty on our peninsula), so to give us some glimmer - we're having our SUMMER SO BRIGHT SALE! Make your summer a little brighter with our LED Matrix Links!
Click the image to check it out! Or jump ahead to see it in action...
Wow, I cannot believe that it's been over two months now since my wedding. It all happened so fast, as most people will say. We had a great time, and even though we had some mishaps (a vendor was a no-show), everything else came together for the most part. Remember the LED Matrix Display? Well I wanted to share some photos of how it turned out. My best friend and also best man, Warren, was able to help build an enclosure for the LED Matrix display before the wedding.
Each Friday, Sparkfun uploads a new video showcasing some of their recent products. One of June 28th's new products was an ISP adapter that uses Pogo pins. This is great for programming multiple boards or if you just want to load the boot loader without soldering headers.
As Friedcircuits grows, the need to produce more at once increases. Before making the OLED backpacks I was hand soldering each product. During the development and fundraiser stages, I figured it would be a good idea to look into a better way to manufacture them. After researching and talking to a few people, I decided to go with a custom-built reflow oven. Well, really, it’s a converted toaster oven, just modified to suit my needs. I used resources from across the Web that I’d like to bring together in one post as well as my experience.